I was inspired by many different versions of kissing balls that I had seen, but my favorites have been the ones covered in roses. All of the directions I found for making the roses involved using hot glue to make the roses, and after a nasty burn, I decided to find a better way to make them.

All you need is some crepe paper streamers (I used two rolls (approx. 100 ft. each)). Glue sticks (I used 4 glue sticks for this project). A stryrofoam ball (your choice of size) and a hot glue gun (for attaching the flowers).
Cut or tear your crepe paper into strips about 20"-24" long. I varied my strips a bit so I would have bigger and smaller roses.

Crumple your strips up, this makes them more flexible and life-like. (This would be a great job for the kids to help with!)

Unroll the strips and fold over the top edge 1/4"-1/2". I wasn't very exact with this, you just want a folded edge to make the petals look softer.

Now comes the sticky part. Use your glue stick to apply a line of glue along the bottom edge. I found it helpful to work on a piece of wax paper. Be careful not to push to hard or the crepe paper will rip. You want to get enough glue that the paper will stick to itself as you are rolling.

Starting at one end, roll the strip to form the center of the rose.

Keep rolling and gathering the crepe paper around the center. Be sure to pinch the bottom edge together. It helps to have a damp towel nearby to wipe your fingers on when they get too sticky. The more you gather the flower the fuller it will look.

Roll and gather the whole strip, pinching the bottom to keep it together.
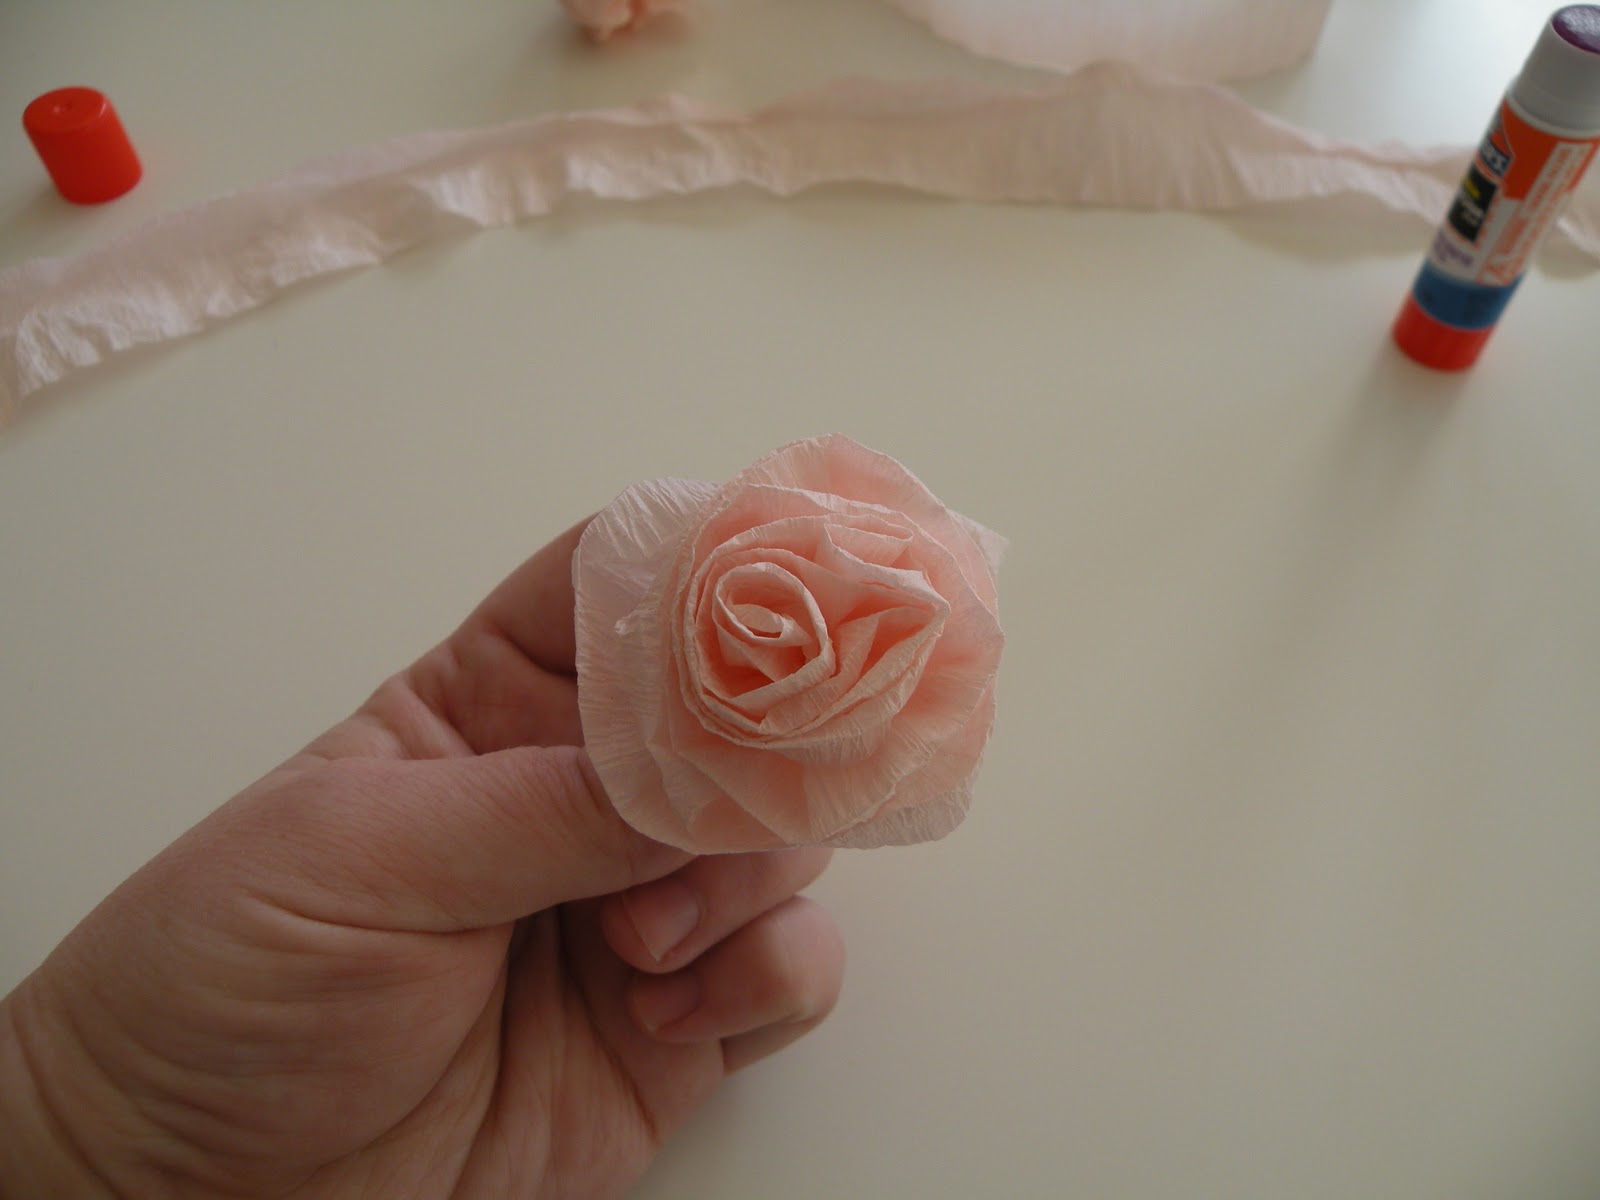
Make a pile of roses. To attach to the ball, I folded the bottom edge over, added hot glue, and glued onto the styrofoam. Nestle the roses up close to each other.

You can add a ribbon for hanging.

Source: heart hands home blog
No comments:
Post a Comment